
A Comprehensive Guide on How To Recharge Your Vehicle AC System (Updated 2024)
Picture yourself driving on a scorching summer day, the sun beating down relentlessly, and suddenly, your car’s air conditioning system fails to keep you cool. We’ve all been there, and it’s not a pleasant experience. But fear not, because recharging your vehicle’s AC system can be a straightforward process, provided you follow the right steps. In this guide, we’ll walk you through the process, including crucial steps like identifying the refrigerant type, whether it’s R134a or the newer R1234YF, to ensure a successful recharge.
Before You Begin
Before you begin the recharge process, it’s essential to determine which type of refrigerant your vehicle’s AC system uses. The two most common types found in modern vehicles are R134a and R1234YF. Identifying the refrigerant type is crucial because using the wrong refrigerant can damage your AC system and even pose safety risks.
Here’s how you can identify the refrigerant type:
Consult the Owner’s Manual: The easiest way to determine the refrigerant type is by checking your vehicle’s owner’s manual. It typically contains detailed information about the specifications of your car’s AC system, including the type of refrigerant used.
Check the Service Port Couplers: The service port couplers, located under the hood, can provide clues about the refrigerant type. R134a systems many times will have larger, threaded service ports with blue or black dust caps, while R1234YF systems have smaller, quick-connect ports with orange or light blue dust caps. However, this method isn’t foolproof, as adapters may sometimes be used, depending on if you bought your vehicle new or used.
Look for Labeling: In some cases, vehicles may have labels or stickers under the hood or near the AC system components indicating the type of refrigerant used. Look for any markings that mention R134a or R1234YF.
Professional Assistance: If you’re still unsure about the refrigerant type, it’s best to seek assistance from a certified automotive technician or AC specialist. They have the tools and expertise to accurately identify the refrigerant type and perform the recharge safely.
Once you’ve determined the refrigerant type, you can proceed with the recharge process.
Recharging the AC System
Now that you’ve identified the refrigerant type, you’re ready to recharge your vehicle’s AC system. Here’s a step-by-step guide to help you through the process:
Step 1: Gather the Necessary Tools and Materials
Before you begin, make sure you have the following tools and materials:
- Refrigerant (R134a or R1234YF, depending on your vehicle’s system)
- Safety glasses
- Temperature resistant gloves
- Refrigerant dispenser with hose and gauge (Also known as a Charging Hose)
- Owner’s manual for reference
Step 2: Locate the Low-Pressure Service Port
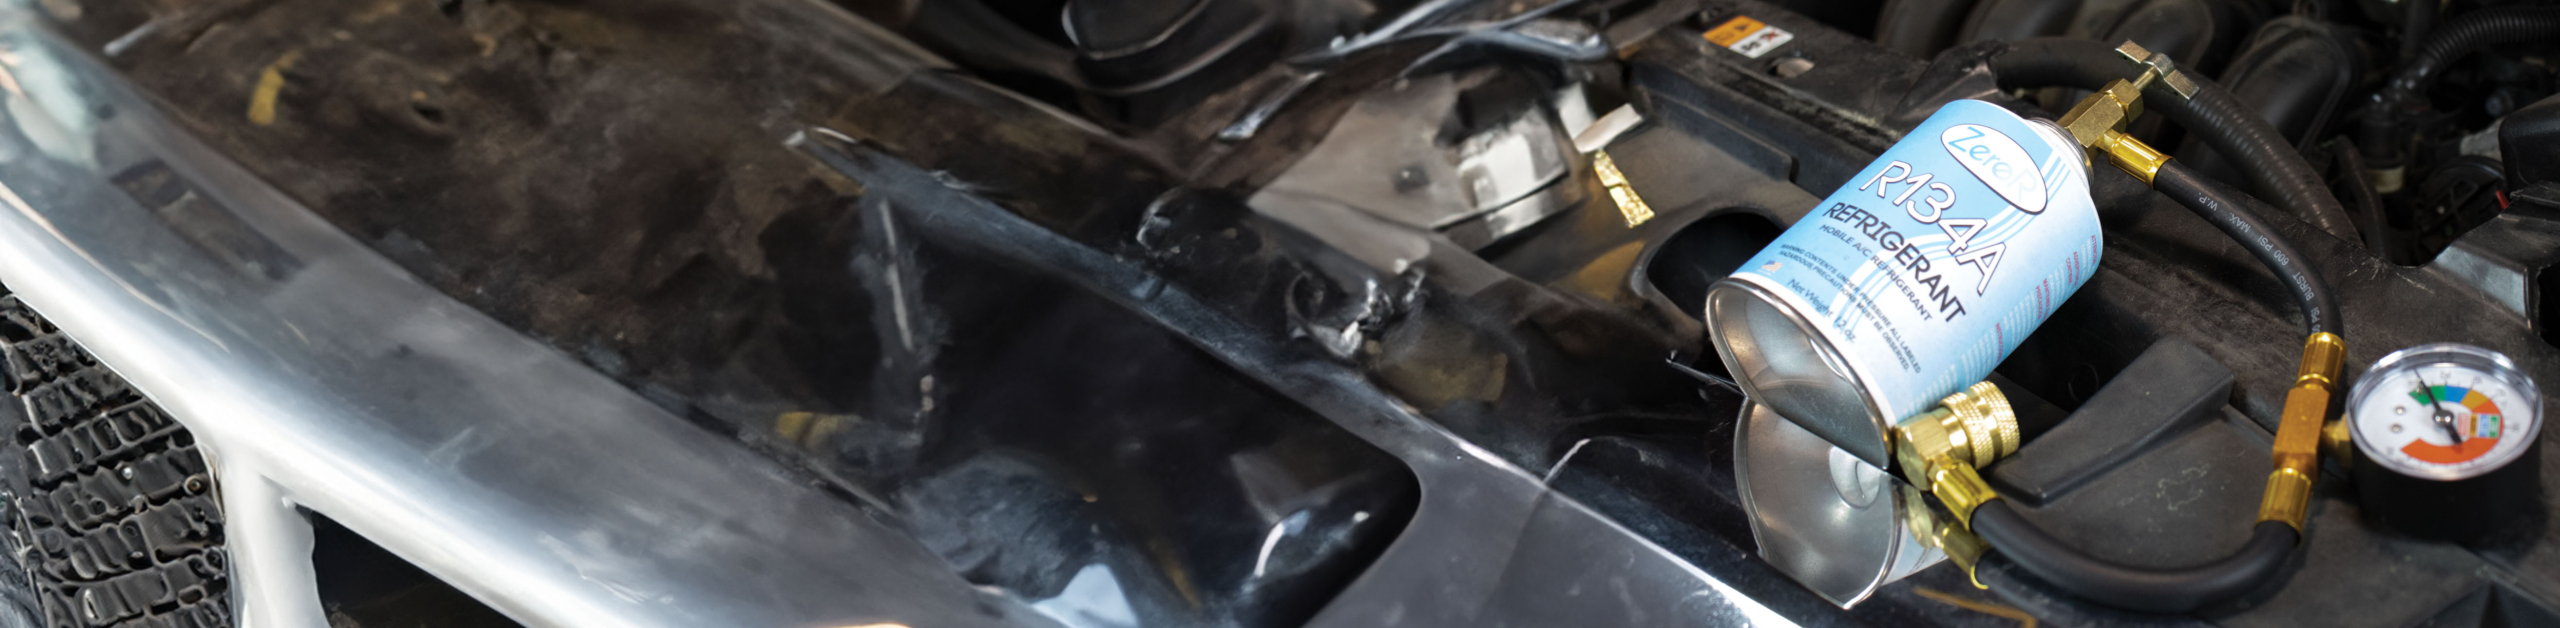
The low-pressure service port is where you’ll connect the refrigerant dispenser hose. Refer to your owner’s manual or AC system diagram to locate the port, which is typically found near the AC compressor and identified by a blue or black dust cap (for R134a) or an orange dust cap (for R1234YF). You will connect the hose to the low pressure service port first, BEFORE connecting it to the can.
Step 3: Prepare the Refrigerant Dispenser
Your next step will be to attach the hose and gauge to the refrigerant dispenser according to the manufacturer’s instructions. Shake the can of refrigerant thoroughly to ensure proper mixing of the ingredients.
Step 4: Start the Engine and Turn on the AC
Start your vehicle’s engine and switch on the AC system to the maximum cooling setting. Make sure all windows are closed.
Step 5: Monitor Pressure and Recharge
Slowly dispense the refrigerant into the system according to the manufacturer’s instructions. Refer to the AC pressure gauge to monitor the system pressure as you recharge. Avoid overcharging the system, as it can lead to inefficiencies or damage.
Step 6: Check for Proper Cooling
Once the recharge is complete, disconnect the dispenser hose and replace the dust cap on the service port. Allow the AC system to run for a few minutes and check for proper cooling inside the vehicle.
Step 7: Final Checks
After recharging the AC system, it’s a good idea to perform a visual inspection for any signs of leaks or abnormalities. If you notice any issues, such as hissing sounds or visible leaks, stop the engine immediately and seek professional assistance.
Conclusion
Recharging your vehicle’s AC system can be a relatively simple task, provided you follow the correct procedures and safety precautions. By identifying the refrigerant type and following the step-by-step guide outlined in this article, you can ensure that your car’s AC system operates efficiently, keeping you cool and comfortable on the road. If you’re unsure about any aspect of the recharge process or encounter any difficulties, don’t hesitate to seek help from a qualified automotive technician. Stay cool, stay safe, and enjoy the ride!
Use These Kits to Quickly Recharge Your AC!
-
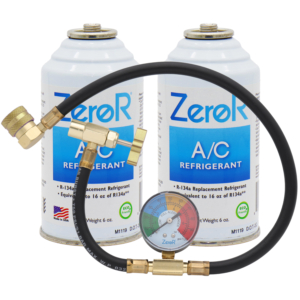 ZeroR® AC Recharge Refrigerant Kit for R134a Systems$39.99
 -
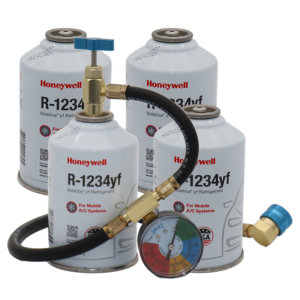 ZeroR® R1234YF Top Off Kit #4 | Genuine 8oz R1234YF Refrigerant (4 Cans) & HD Brass Can Tap with Gauge$149.99
 -
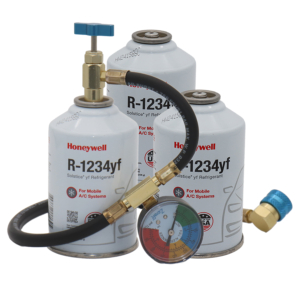 ZeroR® R1234YF Top Off Kit | Genuine 8oz R1234YF Refrigerant (3 Cans) & 24″ HD Brass Can Tap$114.99
 -
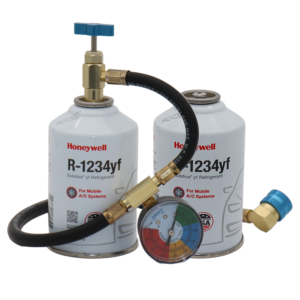 ZeroR® R1234YF Refrigerant Recharge Kit | 24″ HD Can Tap Gauge | 8oz Genuine R1234YF (2 Cans)$84.99
 -
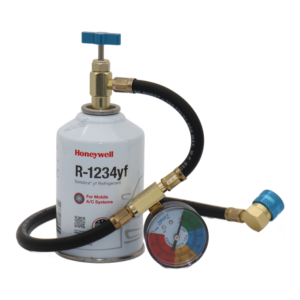 ZeroR® Top Off Kit | Genuine 8oz R1234YF Refrigerant & 24″ Brass Can Tap$54.99
 -
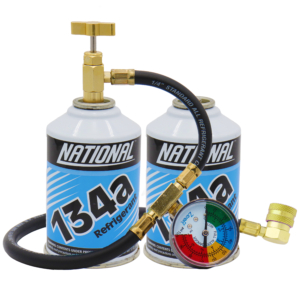 ZeroR® R134a AC Recharge Kit | 24″ HD Charging Hose | 2 Cans R-134a Refrigerant 12oz$49.99