
R134a General Installation Instructions
1 min read
Recharging your AC system yourself is a great way to, not only save money, but to accomplish regular needed maintenance on your vehicle. Check out our instructions below for recharging your R134a system.
If you need to order refrigerant, check out:
Before You Start
DISCLAIMER: It is the customers responsibility to comply with all Federal, State and Local laws when purchasing, handling, and installing refrigerants. The US EPA prohibits the mixing of ANY refrigerant within the United States
Please use SAFETY EQUIPMENT (GLASSES, GLOVES, FACESHIELD) While working with pressurized refrigerant products.
If you are unfamiliar or uncomfortable with handling A/C product, please consult a Professional.
IMPORTANT: If This Is Being Used On A Completely Overhauled System With NO Previous A/C Refrigerant In The System, A/C Compressor Will Need To Be Primed With R134a Refrigerant (step 5, one can) And The A/C Compressor Will Need To Be Cycled (let run for 15 min) Before Adding Any Other ZeroR Products.
What You’ll Need
- Safety Glasses or Goggle
- Thick, cold-resistant gloves
- Faceshield (optional)
- R134a Refrigerant
- Charging hose with gauge for R134a Systems
Installation
READ ALL INSTRUCTIONS BEFORE BEGINNING
- Locate low side A/C Port – All Refrigerant installation will be done on the low side port.
- If you are not sure where the Low Side Port is – It is a little different on each vehicle but the one thing that is always true is the hose you are using will only fit on the low side port. It will not fit on the high side at all. The low side will have a blue cap marked with an “L” and is usually located on the larger of the aluminum tube coming from the compressor.
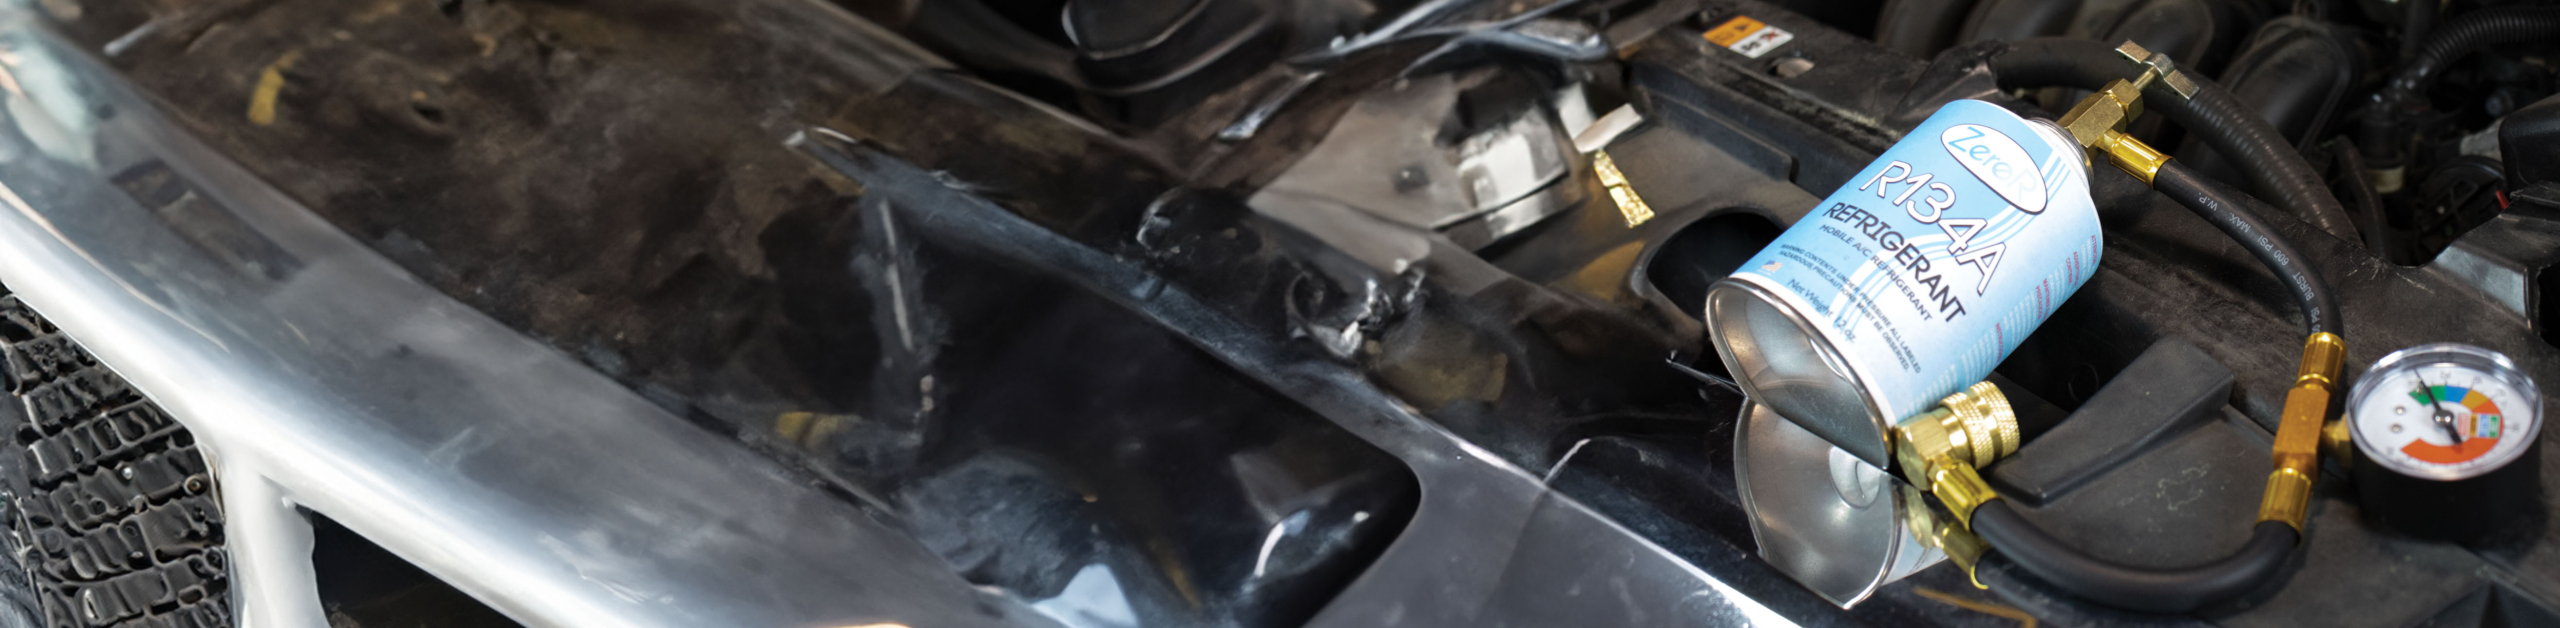
- Connect can tap with gauge to low side port
- R134a refrigerant: Shake can well. Connect can to the Can tap.
- Open tap plunger.
- Rotate can between 12 o’clock and 3 o’clock every 2 to 3 seconds while continually agitating (shaking) the can back and forth until empty or correct gauge reading. (Blue or Green)
- Continue this process until the correct amount of refrigerant is installed
IMPORTANT: Do NOT overcharge the system
All Done! Enjoy your cold Air Conditioning
Final Thoughts
Additional products might be needed to complete your project. If needed, install the products in the following order:
- Drying Agent – Removing excess moisture in the system
- Leak Sealer – Fixing known pinhole leaks in aluminum tubing
- Oil Charge – added lubrication for moving parts within the system (including the compressor)
- Permafrost Booster – Added performance for even colder air
As always, feel free to reach out to us if you ever have any questions.
Powered by BetterDocs